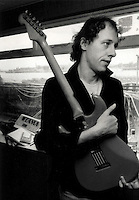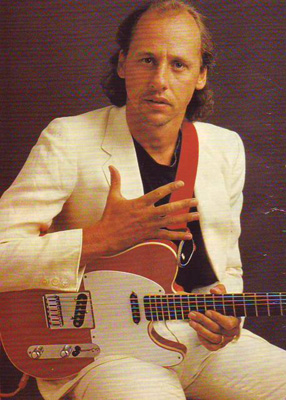
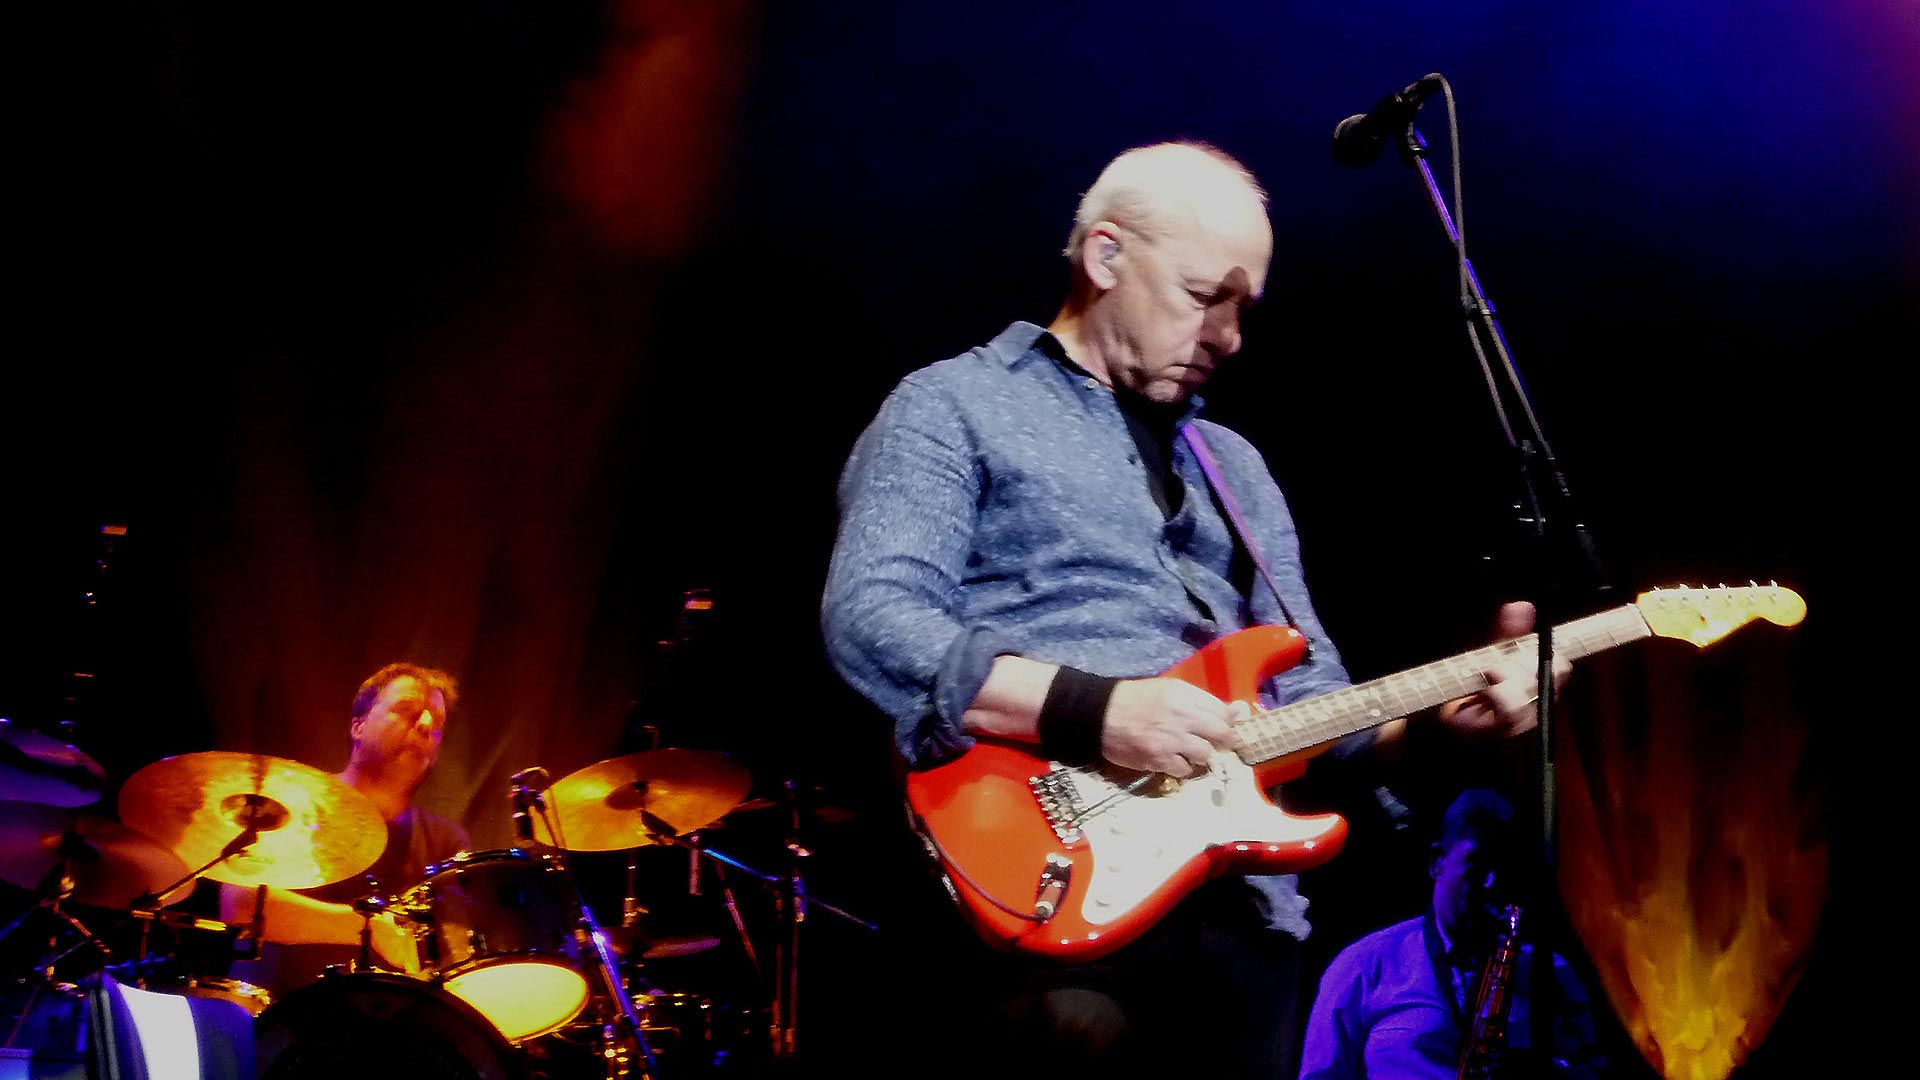
Mark Knopfler playing with a pick in 1979
While Mark Knopfler is strongly associated with playing fingerstyle, we know he always used a pick occasionally as well. Before he started Dire Straits, he did a lot of fingerpicking- e.g. on his National resonator guitar – but also used a pick much more than he did later. With his band before Dire Straits – the Cafe Racers – he mainly played with a pick on his 1959 Gibson Les Paul Special.
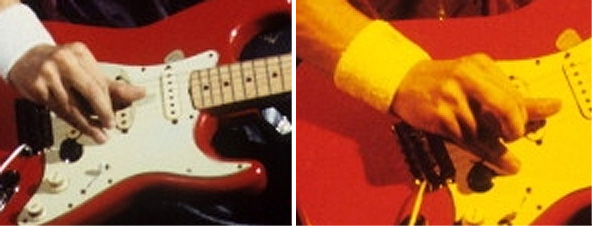
With Dire Straits, he used a pick on the song Expresso Love in 1980 and later, but in fact he used one before for Twisting by the pool which was played live in late 1979. I recently found the first pictures showing a pick on stage in 1979. It was pinched behind the pickguard through most parts of the concert it seems (several pictures of the gig were available). The gig should be Ney York, Palladium, September 11 [wow, a famous date together with the right place!!].
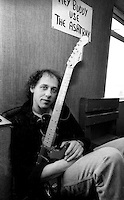
A pick on Bernadette?
I wonder why he did it this way, and why we have never seen a pick there on other late 1979 pictures or videos. Maybe he used it not only on Twisting but on another song? A good candidate might be Bernadette which was only played on that US tour I think (a song composed and sung by David Knopfler). I listened to it again (there are three recordings with this song), and yes, it might be a pick (at least no clear finger-style techniques or sounds on this one).
Decide for yourself (let us know with the comment function): pick or fingers?