Recommended artist: Chris Rea – some rare video clips
Most people who like Mark Knopfler might know Chris Rea, who has been popular especially here in Europe since the 80ies. Due to health problems, he ended his active career some yeasr ago.
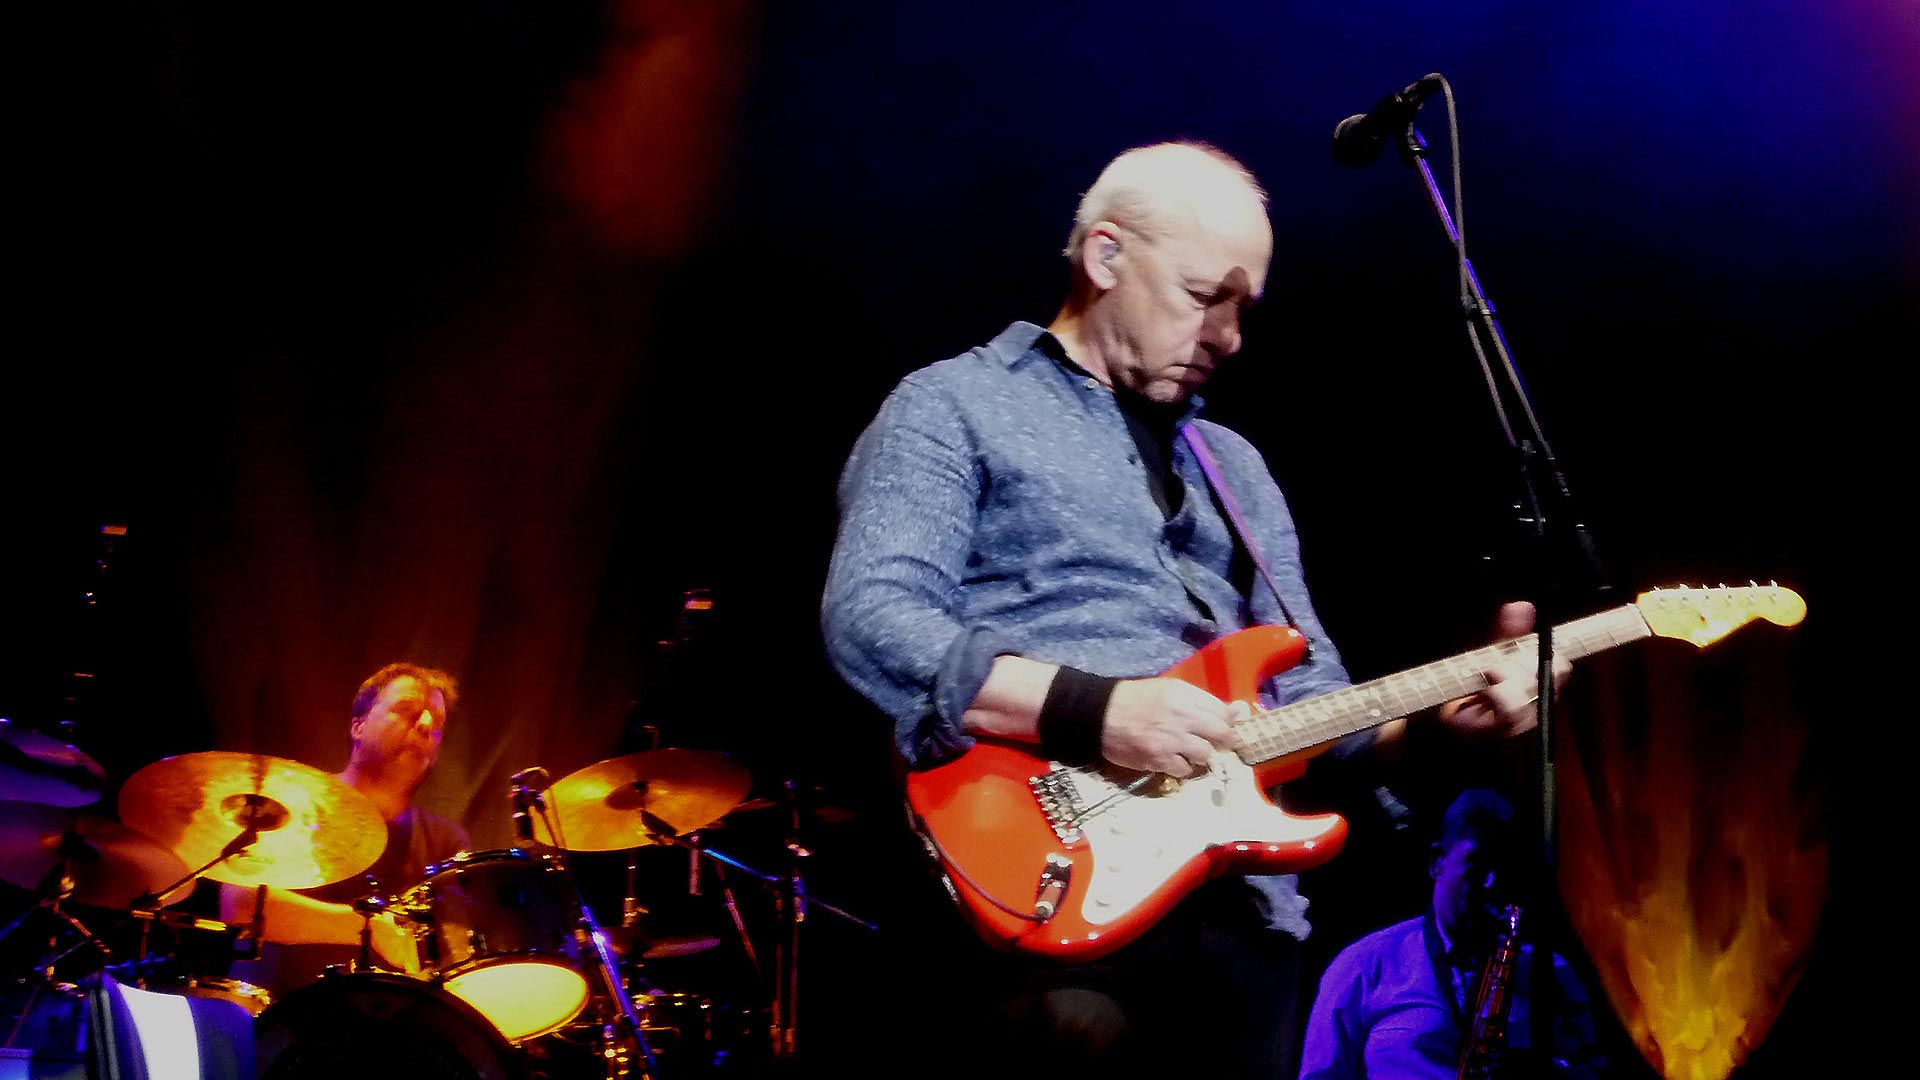
I first heard of him in 1983 when a friend of mine who was also into Dire Straits at that time told me about a concert he was at with the then super-group SAGA. It seemed he did not like them that much, but he was enthusiastic abouth the support act that noone had heard of before, a guy who played a clean guitar sound similar to Dire Straits on an old fiesta red Stratocaster: Chris Rea. It was the same week when Rockpalast broadcasted a Chris rea concert from a small club in Bochum (very near to the place I lived then here in Germany), so I did not miss this concert (and even taped it with a cassette tape – this was before people had video recorders). I recently found a few clips from this and other concerts concerts on youtube and want to share them with you.
The first track was the first one of the concert, so the first I ever heard. It is called “Nothing’s happening by the sea“. Chris plays his red Strat which is tuned to open E through a clean silver-face Fender Twin Reverb (and a brown Fender Bandmaster for distorted sounds).The bass is also cool: a fretless Steinberger, note how it interacts with the guitar licks. Unfortunately the uploader of this clip disabled embedding so I cannot show it directly here on this site, instead click here to open it in a new window on youtube.
A second early track that never made it to a hit is Candles. This time Chris plays a Strat in standard tuning. This clip is from an open-air Rockpalast concert on the famous Lorelei Rock above the river Rhine in Germany, a place where Dire Straits also played on a festival in 1979.
And finally, one of my all-time favorites of Chris’ setlist, the song Steel River from the same concert as the one before. It is amazing how the song develops through different stages from a slow ballad to the rock outro. Also that break at 4:30 is pretty cool. Have fun!
 I recently surfed into a nice site called